A few weeks ago my husband started an awesome new job that will require us to relocate. We are so excited! Did you know our house was only on the market for 2 days before we found a buyer?! Craziness! I’m excited to be working on a series of posts focused on getting your house updated, organized, and ready to sell (or ready to enjoy yourselves!). Staging, de-cluttering, and updating are key to getting your house sold quick for the price you want. First, I’d love to share a couple of ideas on how you can update a Plain Jane, builder grade bathroom.
Since we moved in 10 months ago we’ve worked on a steady stream of projects to make it more our style, knowing that we’d likely be selling soon. The last 3 weeks before listing we really moved into high gear to finish all of our remaining painting and organization projects, one of them being the hall bathroom.
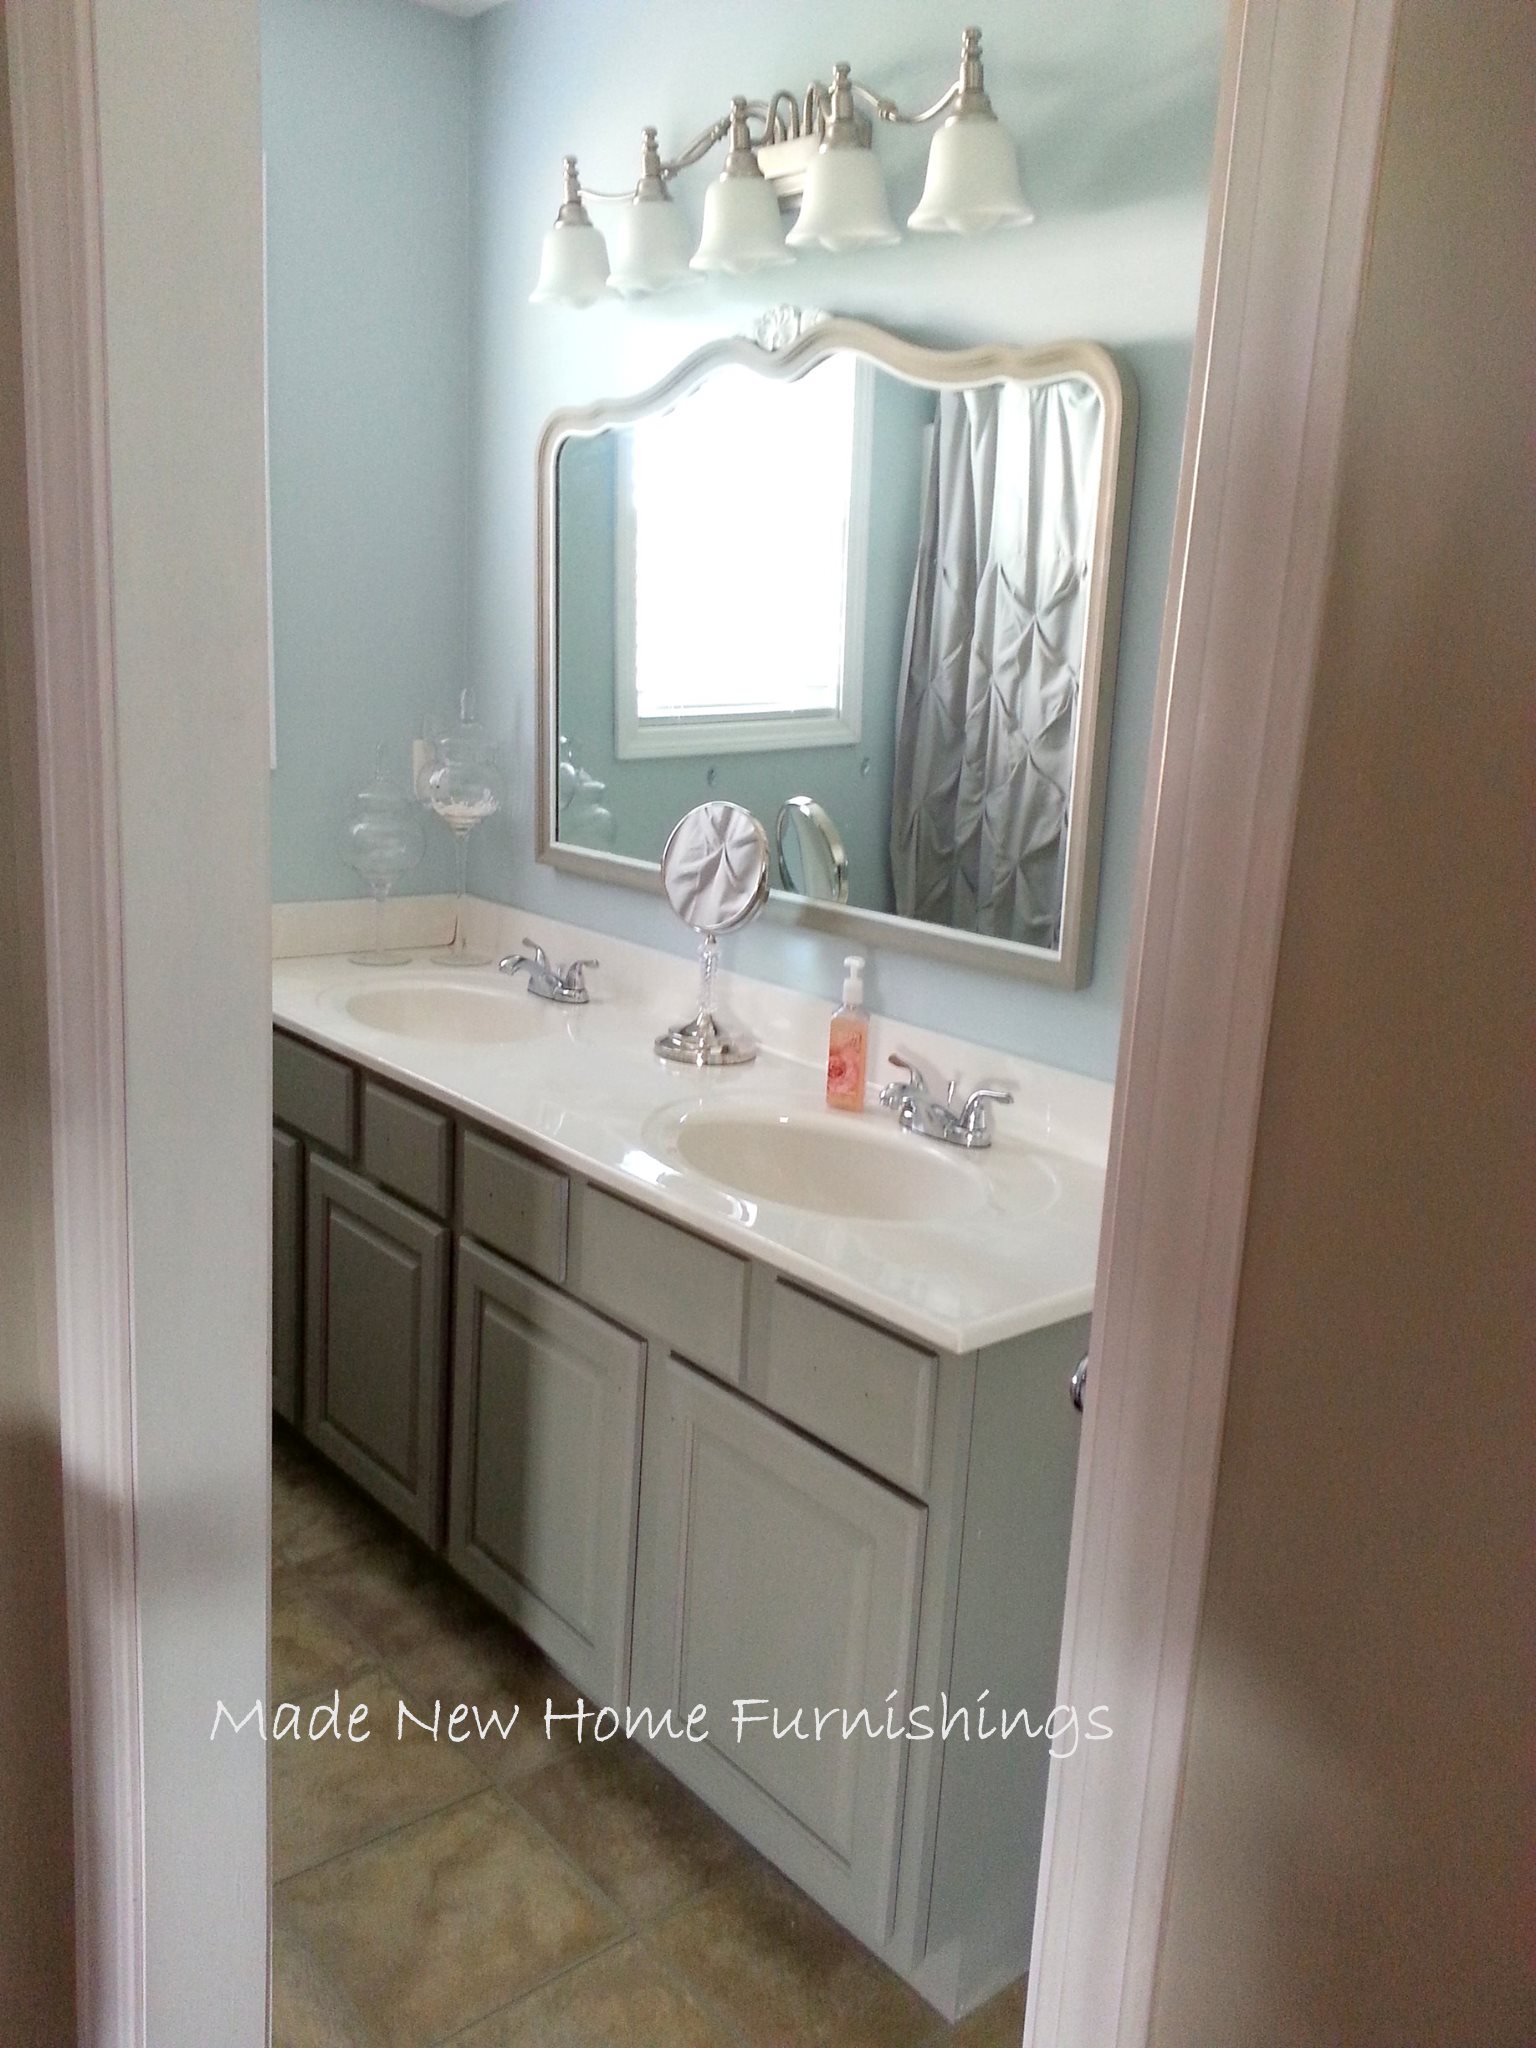
There are no windows in the hall bathroom and it was dark. When we moved in, we knew we needed to update the light fixture. It still needed something more though. The room felt very plain and “builder grade”. I had two ideas to really give the room an upgraded feel. First, to lengthen the shower curtain in order to visually add height to the room and remove the shadow above the curtain which made the room feel dark. Second, to paint the vanity cabinet. Look at the difference!

I found the shower curtain at Target last summer. I really like the airy linen feel of the fabric and the color. I understand that curtains are manufactured to come to the top of the prefab bath/shower fixtures probably to leave steam out the top as to not create a sauna but I wish they would make a longer option! I hoped that lengthening the curtain would have a great visual affect, and it really does make the room feel taller and larger.
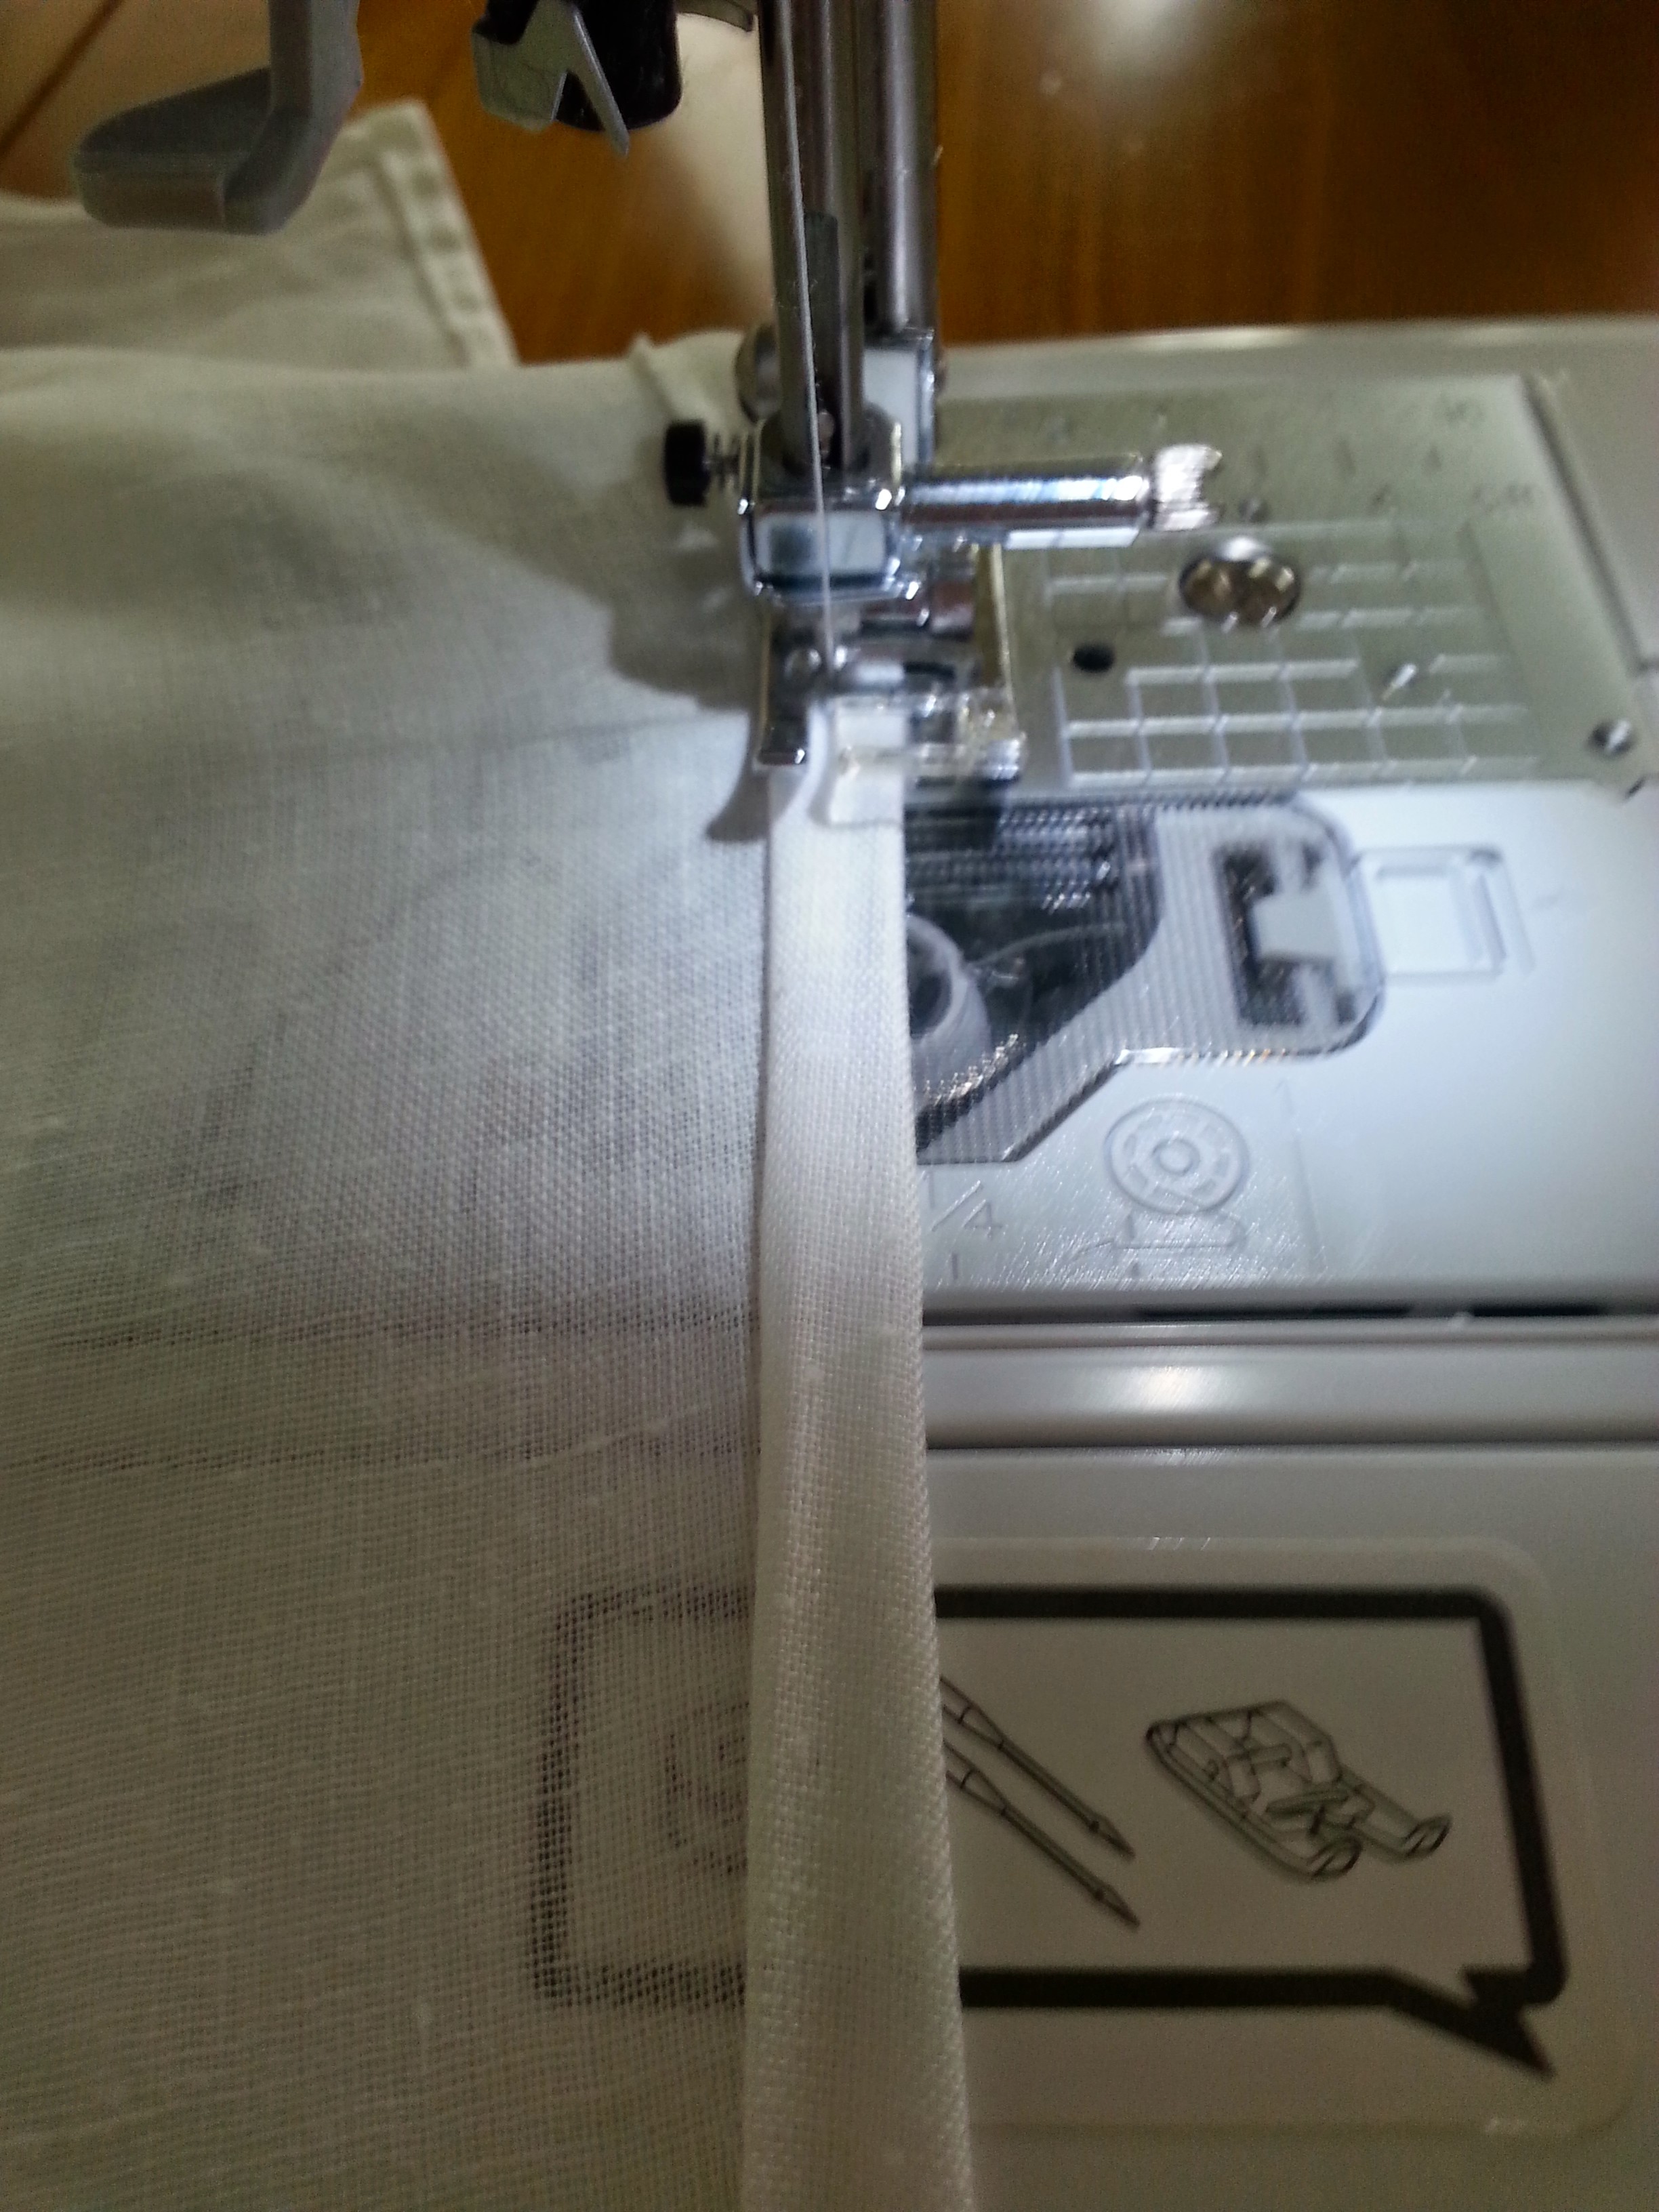
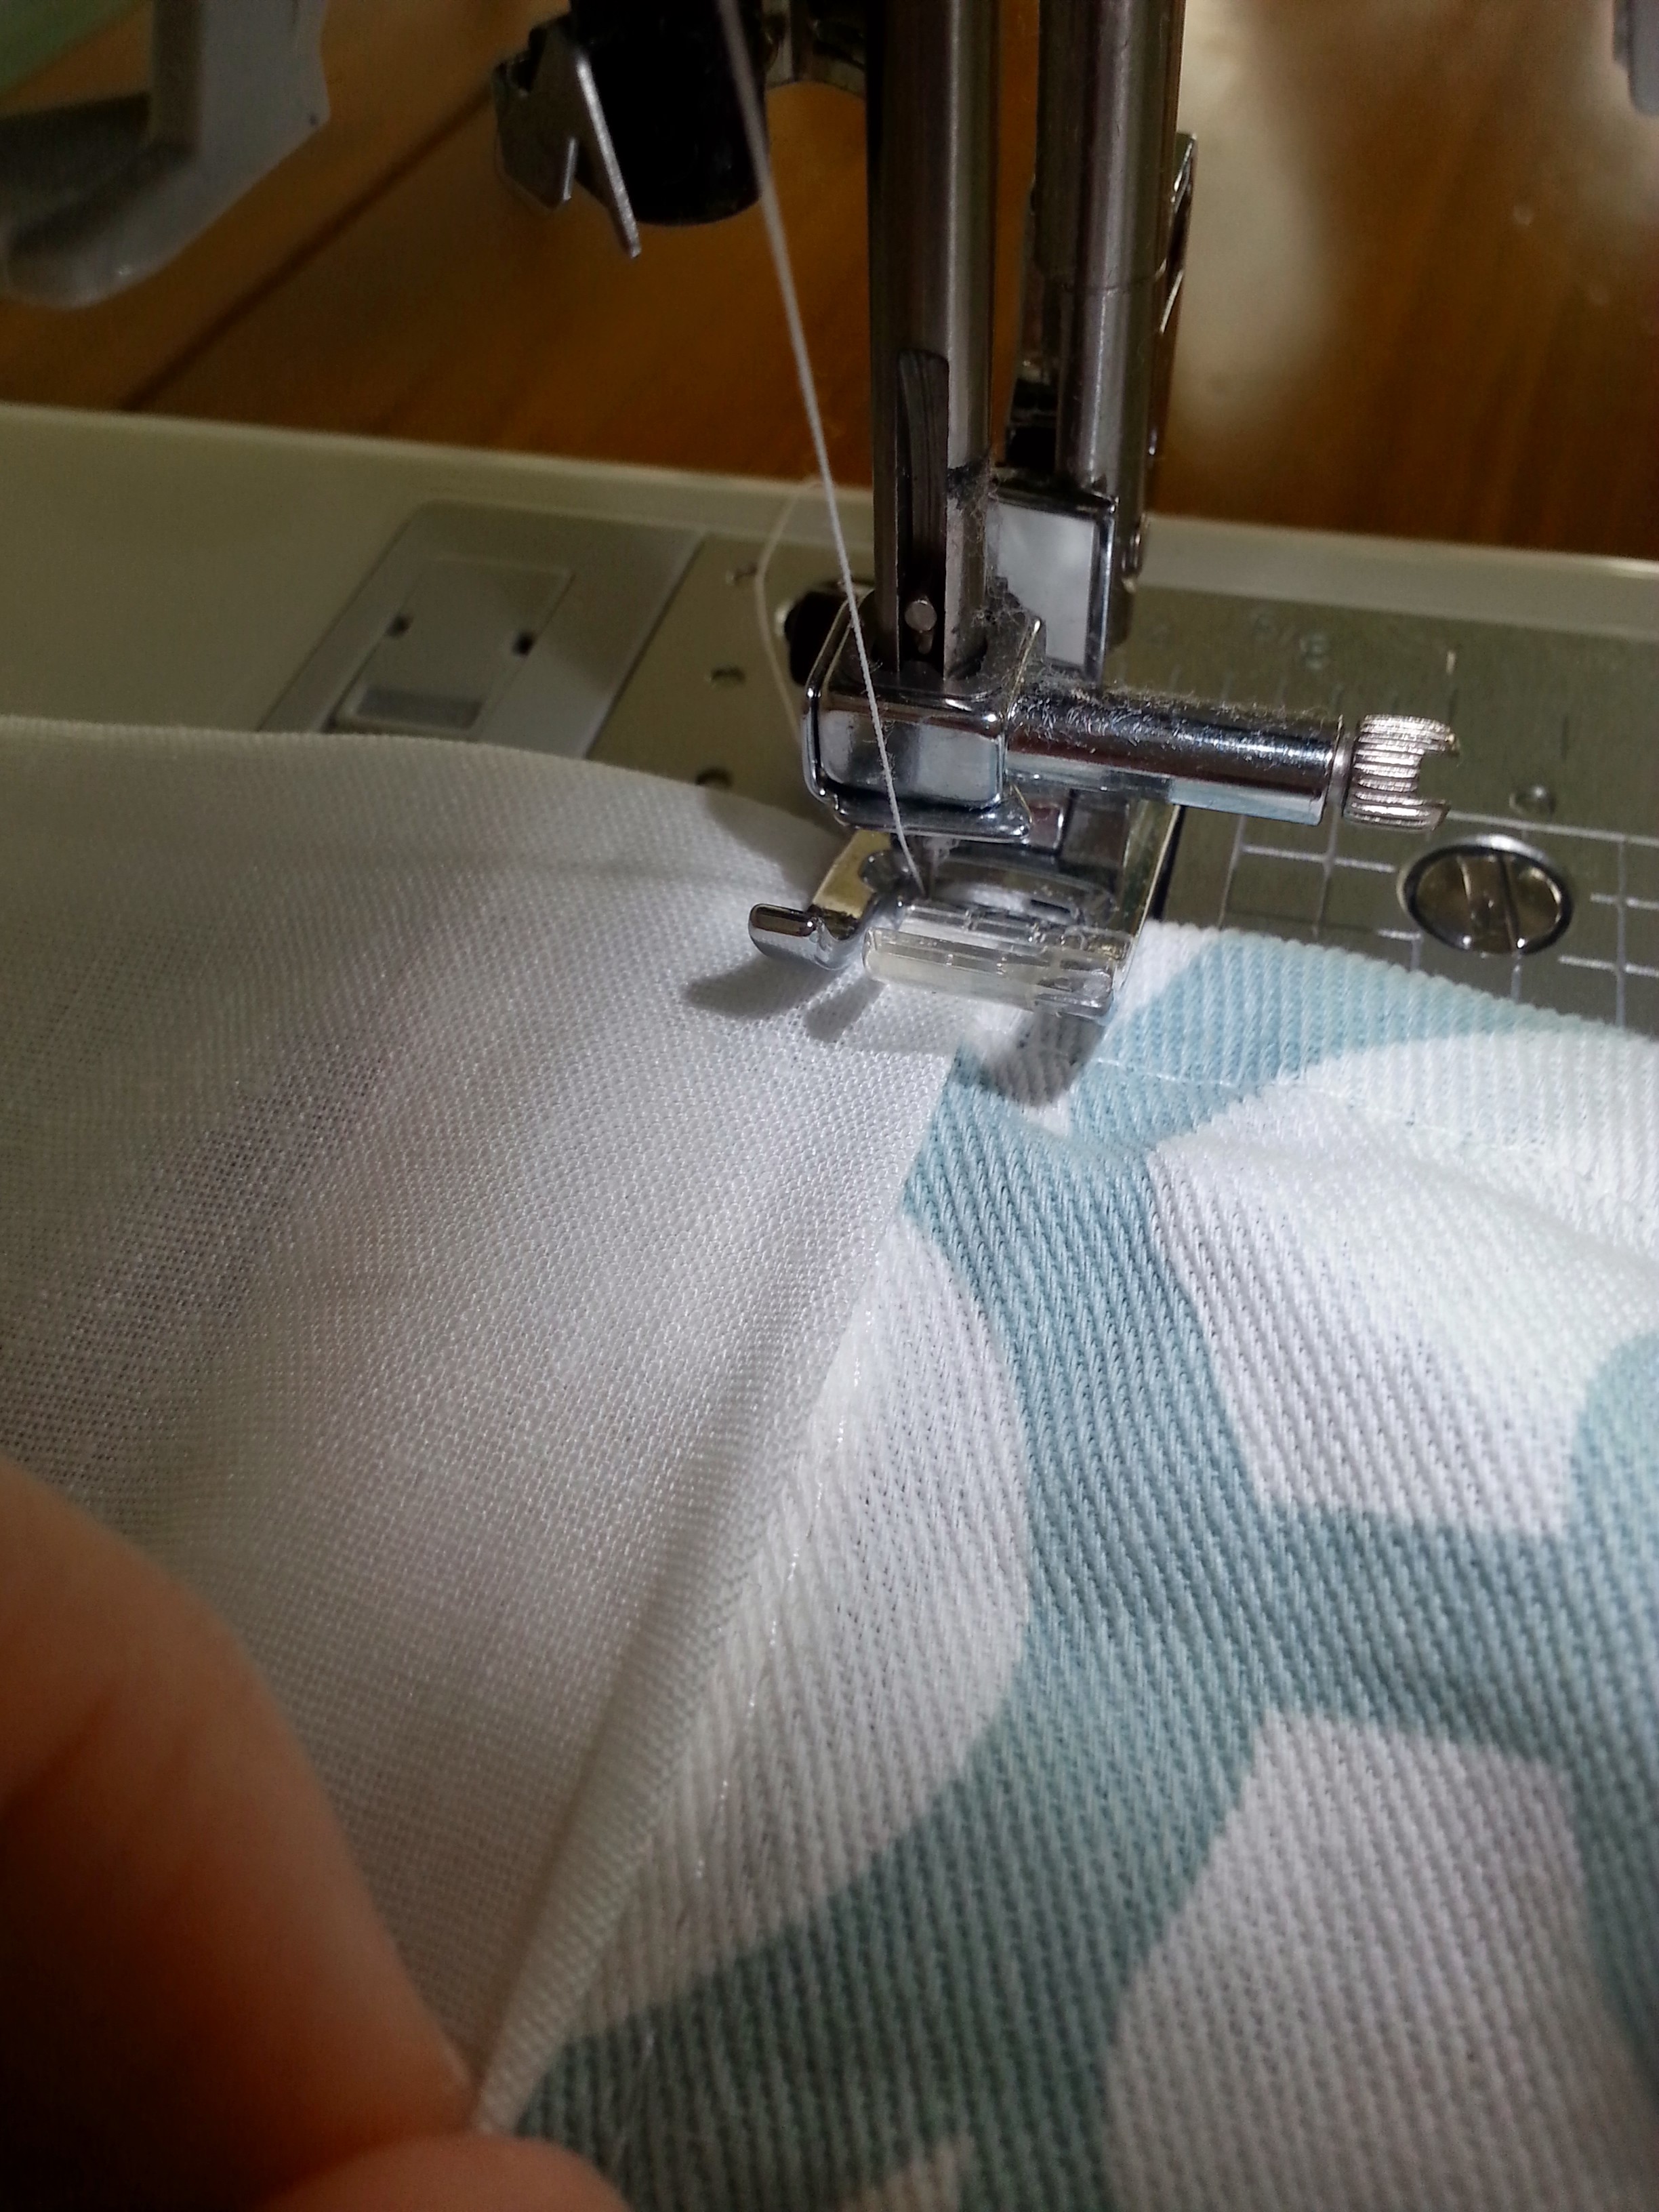
The curtain measures 70″ wide. I knew I wanted to add a band of white linen at the bottom of the curtain. The linen I bought had a 42″ selvedge, meaning a yard would be 36″ x 42″. Because I didn’t want to be piecing fabric together I went ahead and bought 2 yards. I cut the entire 2 yd long piece down to 15 inches by 72 inches. That length left me enough room for the double hem around the sides and for a few small pleats to give the bottom a ruffle type flow. Adding about 14 inches of length to the curtain gave enough height that the liner on the inside still keeps the water in the tub. I’ve considered adding another layer, maybe 10-11 inches to create more of a double layered ruffle look. We’ll see! What do you think?
For years I’ve really wanted to upgrade the oak, standard, builder grade cabinet. I hate we didn’t do it sooner because I love how it turned out! The color we chose was inspired by the Centsational Girl blog. I remembered a few years ago seeing a vanity she painted a glossy brown. There are so many shades of brown. I really didn’t want any weird red or burgundy undertones. I was thankful to find that blog post where she shared that she used Betsy Ross House Brown by Valspar. That is what we went with an I am so glad I did. I chose a semi gloss and I’m thankful for the sheen and wipe-ability. After a couple of coats I didn’t feel like it needed a poly coat. Now for the pretty close up… one of these days I’ll get a fancy camera for prettier and clearer pictures.

Don’t be intimidated by the project -it is just paint! If you decide you don’t like it can be fixed! The cabinet doors were wood but the frame of the vanity was not real wood- it was a dense composite. Because there would be no sanding, I used Zinnser Bonding Primer as a base coat. We took the doors and hardware off and primed the inside of the doors first, flipped and then primed the front. I left the drawers in but pulled them out so that I could paint the drawer front and carefully painted the cabinet frame around them with my 2″ angled Wooster brush (my favorite!). Then, I did the same with the brown. With a gloss finish, make sure you get paint flowing freely from your brush. You want it wet and you want to use uniform strokes in the same direction. No deep brush marks! If you do get some deep strokes, re-dip your brush and go over it again lightly. Some strokes really will look fine. If you are concerned, consider using a small foam cabinet roller on the flat areas.The brown had great coverage with the first coat but it did require a second coat. It cured to a nice, seemingly durable finish.

I hope this inspires you! Small changes can make a big impact! Go for it, change up that bathroom with a new curtain and rug. De-clutter and search Pinterest for creative storage solutions, if you need it. Choose clean, calming colors, and work in some earth tones for the perfect update. Here are a few pictures of a similar update I did in the master bath a while ago.
Made new!

Before…

- This bathroom vanity and mirror is painted with French Linen and Old White Annie Sloan Chalk Paint.
- The shower curtain is from Target Summer 2014.
- The Light Fixture is here: http://www.lowes.com/pd_590922-43501-FV14-048___?productId=50279781&pl=1&Ntt=brushed+nickel+bathroom+vanity+lights
- The mirror is an antique Drexel mirror that was given to me by my grandfather’s friend.
Featured hall bath details:
- Zinsser primer (already had on hand), $10 (http://www.lowes.com/pd_45661-90-2004_1z0yye2__?productId=3610418&pl=1)
- Quart of Valspar Signature latex interior gloss paint, Betsy Ross House Brown, $15
- 2 in angled brush, $6-$12 depending on what strikes your fancy. I choose Wooster which is $10-$12
- Fabric to add trim panel or ruffle to bottom of shower curtain. I chose white linen. 2yds from Hancock’s with 40% off coupon = $15
- New hardware from Lowe’s, $12
- Basket and flower vase were relocated from other places in the house. 🙂
Earlier updates included:
- Wall paint (in both bathrooms) is Benjamin Moore Silver Gray in Satin
- vanity light, $65, here: http://www.lowes.com/pd_590922-43501-FV14-048___?productId=50279781&pl=1&Ntt=brushed+nickel+bathroom+vanity+lights
- Removing builder grade mirror and replacing with a mirror on sale for $19.99 at Kirklands
You really can make a big change in a bathroom on a budget, and for under $50. The biggest impact was by far painting the vanity and changing the hardware which was $27 because I already had primer and brush on hand. Second biggest impact I think was changing the mirror which was $20. Third was lengthening the shower curtain for $15. Check out your closest Habitat ReStore for paint, hardware, or updated faucets or light fixtures. Remember, light fixtures and hardware can also be spray painted if you find a style you want but in a dated finish. Look for baskets and bins at thrift shops to organize. Plan to shop at your hardware store on holiday weekends, like Father’s Day, 4th of July, Labor Day, when they have their biggest sales. Go to your Post Office and look for change of address packets, they have loads of coupons including 10% off at Lowe’s… haha! I know from experience. Or take your favorite military friend to borrow their discount and buy them a fun tool while you’re there. 🙂
Love,
Tracey

i wanted to see what the shower curtain looked like when done.
LikeLike
Hi Linda! It is completed in the after picture. I just added white trim to the bottom. I do think in the near future I am going to add another shorter layer over it though with more pleats to make it more of a ruffled bottom.
LikeLike